Your first plugin
This guide will walk you through the process of creating your first plugin. We will create a plugin that adds a new Panel to Qatium’s sidebar, adds a map layer of valves closed in a network and a button to open valves.
In the process, we’ll learn how to use Qatium’s Developer Mode, which allows you to run a plugin locally and connect it to the production web app to test it. We will also use one of Qatium’s plugin templates to get started quickly.
Prerequisites
Section titled “Prerequisites”- A Qatium account. If you don’t have one, you can sign up for free.
- A recent version of Node. You can download it from nodejs.org.
Step 1: Set up your development environment
Section titled “Step 1: Set up your development environment”Start by creating a new plugin using the Vanilla TypeScript template. Download it as a ZIP file or clone the repository in your computer.
git clone https://github.com/qatium/plugin-sample-typescript-empty.git my-first-pluginNow, navigate to the new directory and install the dependencies:
cd my-first-pluginnpm installMake sure the installation was successful by running the following command:
npm run devIf all went well, you’ll see a message saying Server running at http://localhost:8888. Open that URL in your browser, and you’ll get a page like this:
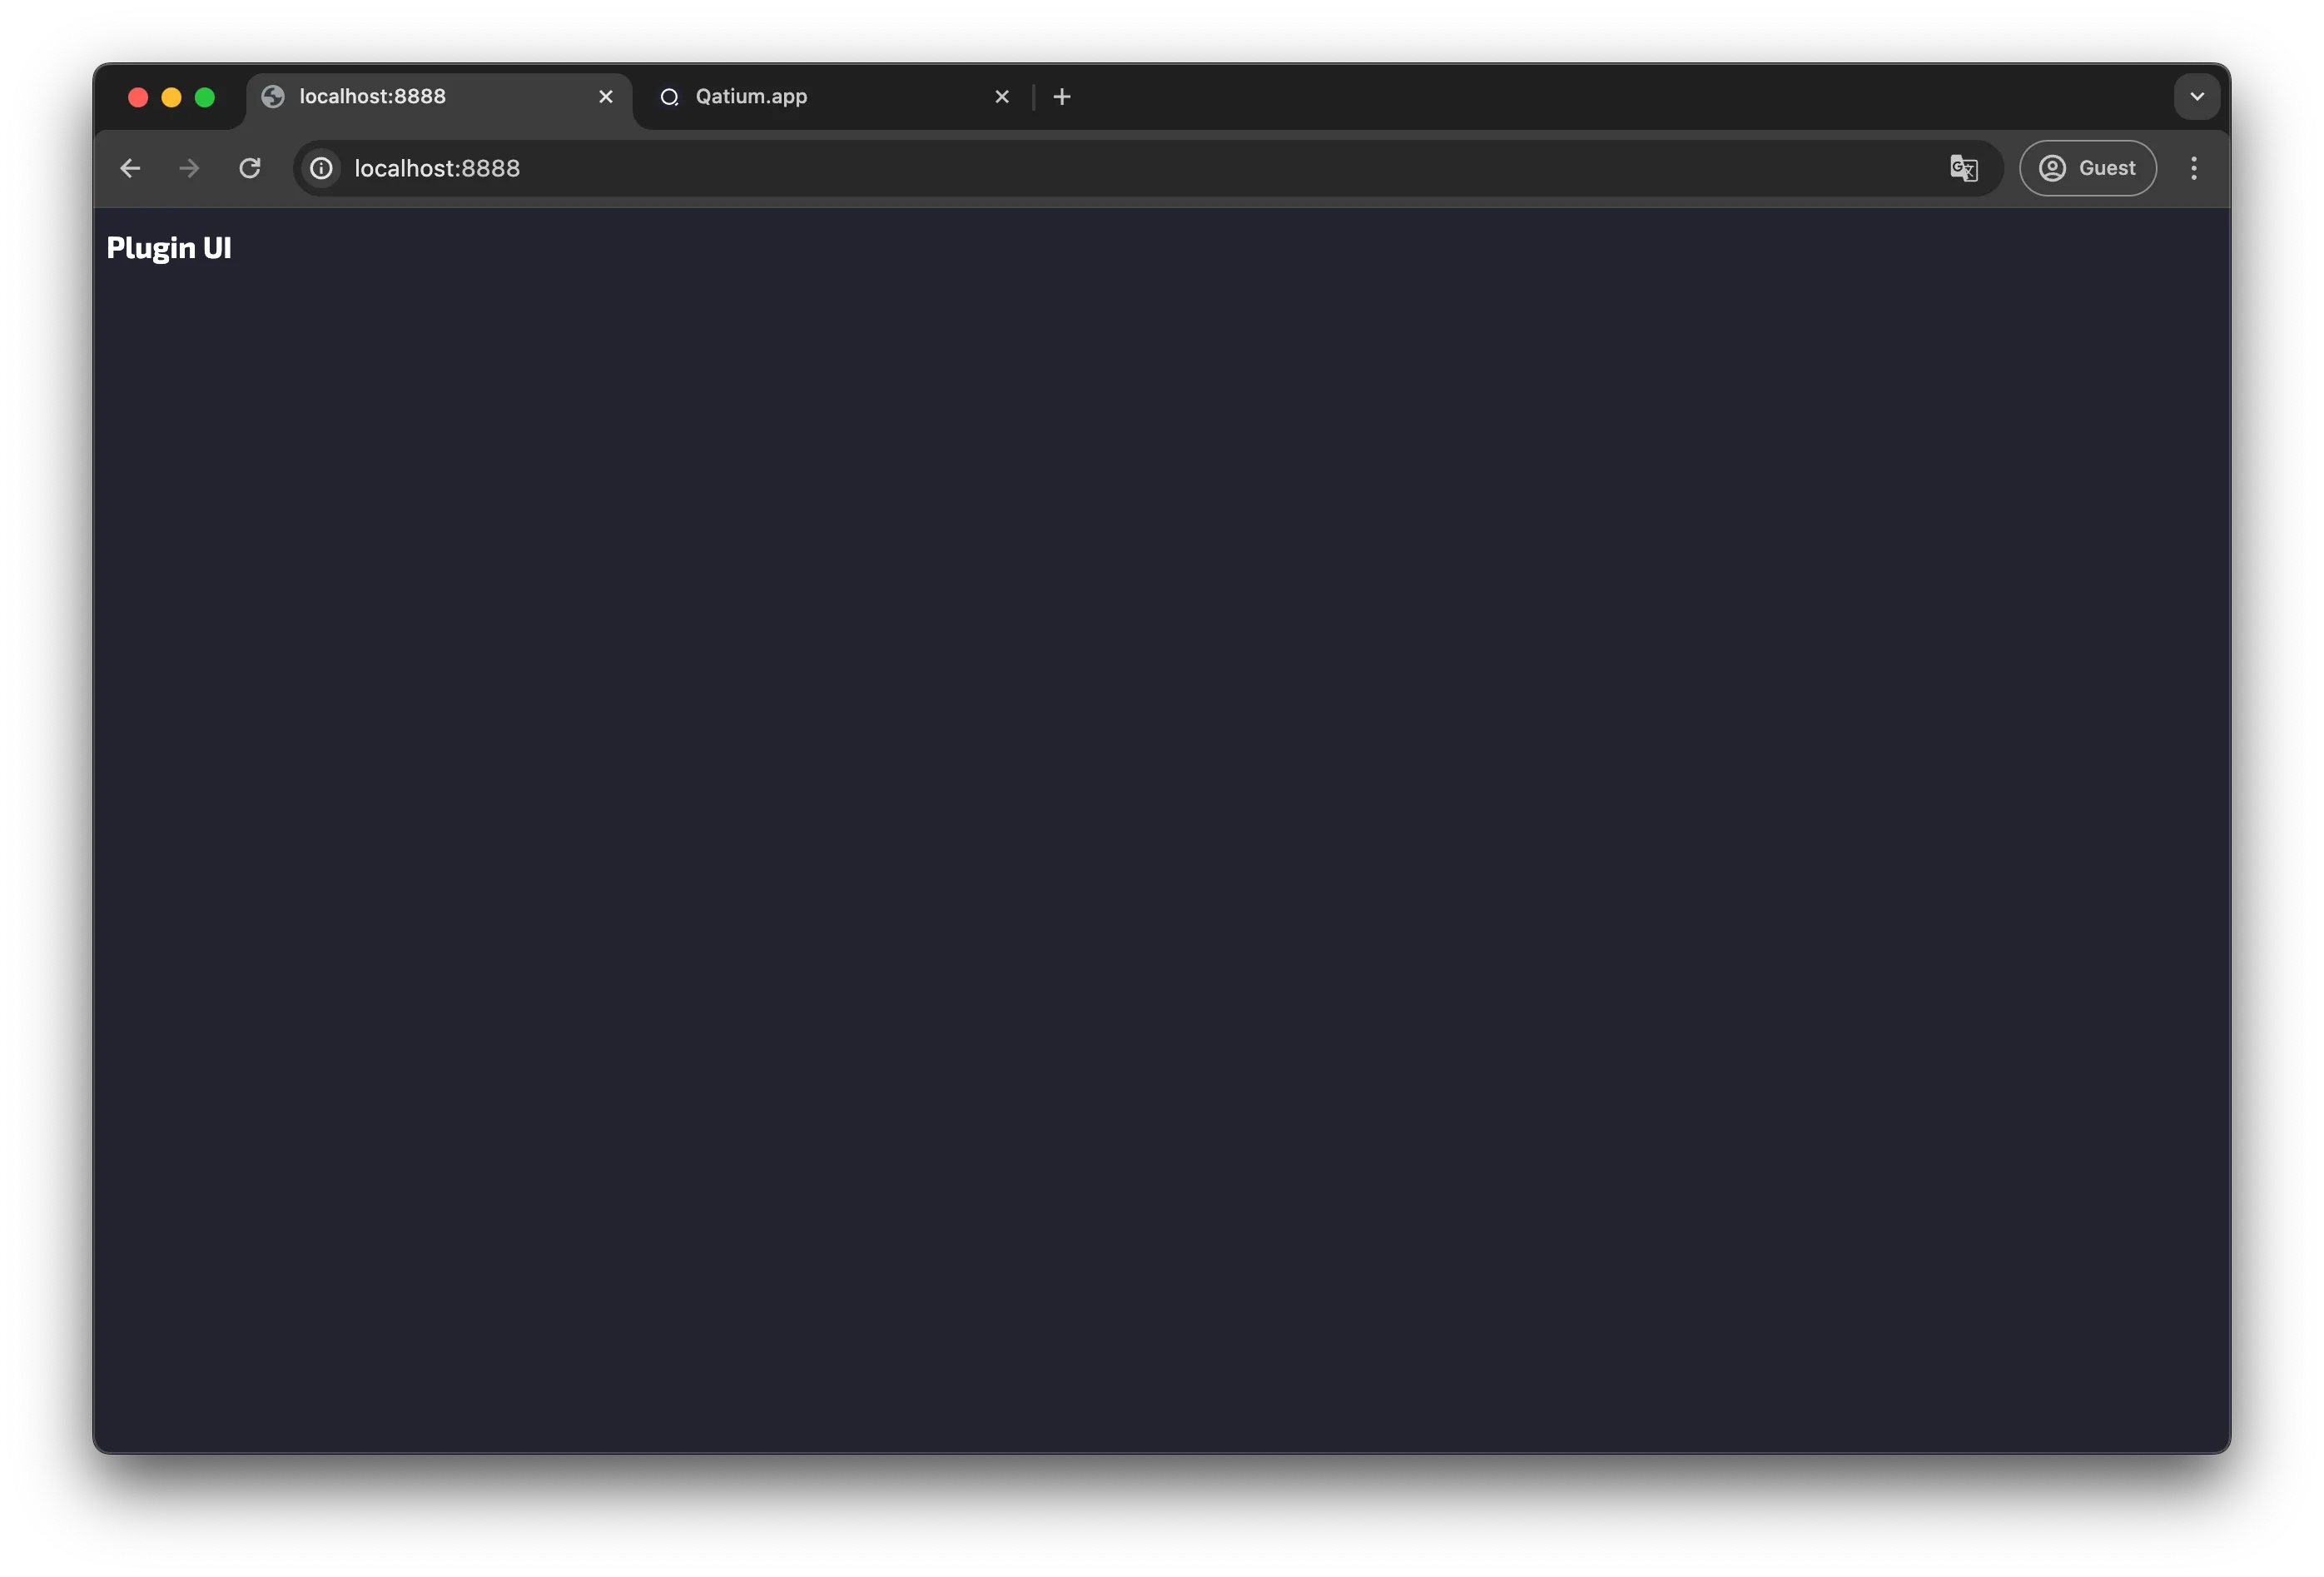
This is the plugin running in your local environment. It won’t do anything interesting until we connect it to the production Qatium web app. We’ll do that in the next step. You can close the browser tab because we won’t need it anymore.
Step 2: Connect to Qatium using Developer Mode
Section titled “Step 2: Connect to Qatium using Developer Mode”To connect your local plugin to the production Qatium web app, you need to enable Developer Mode in Qatium. This will load your local plugin’s code into the production web app, allowing you to test it while you develop.
To enable Developer Mode:
- Open the Qatium web app
- Open a network and wait for it to load
- Open your user menu clicking in your avatar, then open the developer mode settings and click the “Activate” toggle

After a page refresh, your local plugin should be running in the sidebar.

Step 3: Build your plugin
Section titled “Step 3: Build your plugin”Now that we have our plugin running in the production web app, we can edit its contents.
Follow the next steps to learn how to build a plugin from scratch. And later on, see what you can do in code by checking the API documentation.
Plugin structure
Section titled “Plugin structure”Plugins in Qatium have two parts: the plugin itself, where you can place calculations and interface with the network and map, and the panel code, which defines how the side panel is visualized. Learn more about how plugins run.
Both components communicate with each other through message passing, using the onMessage and sendMessage functions. In the next sections, we will learn how to do a simple plugin to communicate both parts of the plugin.
Add map visuals
Section titled “Add map visuals”We’re going to change the map styles of the map to display a layer of closed TCV valves. In order to do so, we’re going to edit the run event in our plugin.
import type { ValveStatus, OverlayLayer, SDK, ValveFamilies } from '@qatium/sdk'import type { Plugin } from '@qatium/sdk/plugin'
export class MyPlugin implements Plugin { run() { // Find closed valves const closedValves = sdk.network.getValves((a) => ( a.family === ValveFamilies.TCV && !!a.simulation && a.simulation.status === ValveStatus.CLOSED ));
// Draw all closed valves in the map const styles = Object.fromEntries(closedValves.map((v) => { return [v.id, { isShadowVisible: true, shadowColor: "red" }] }));
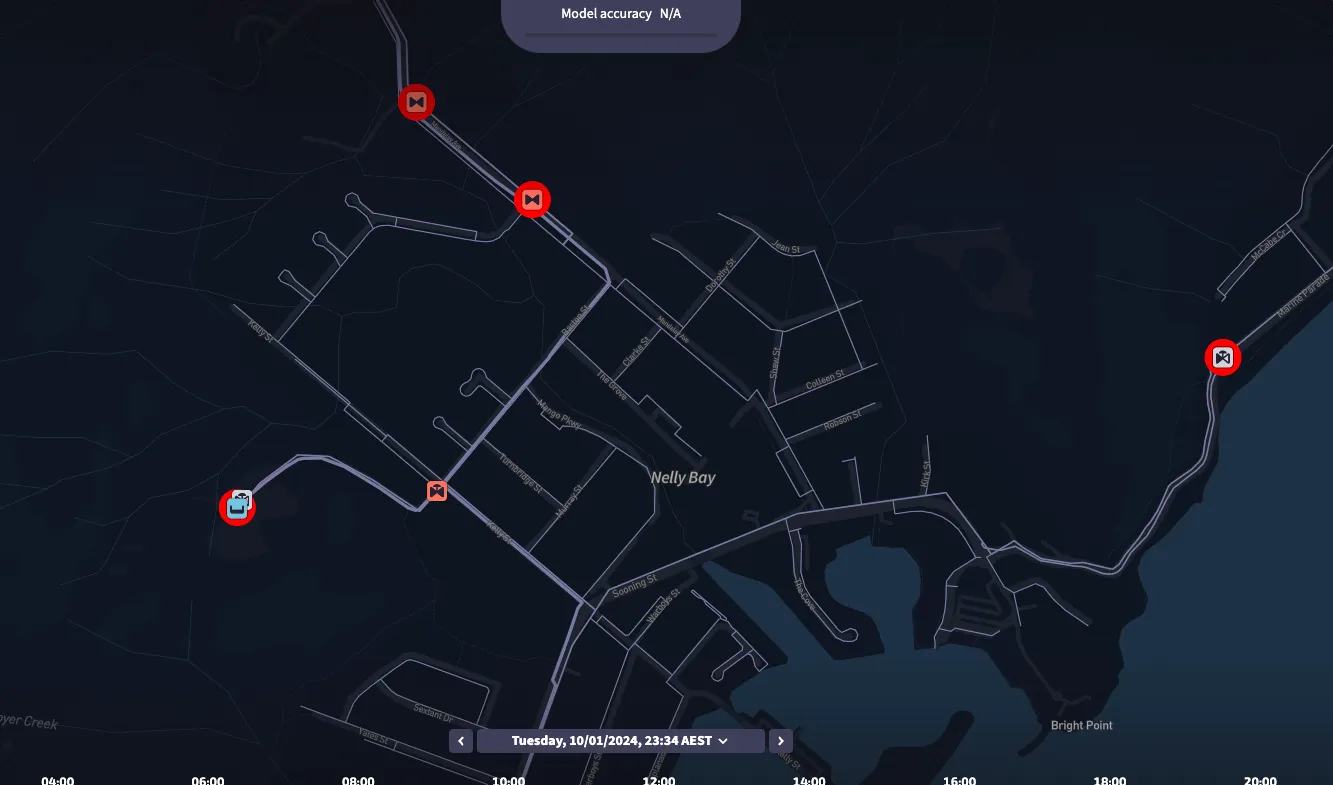
sdk.map.addStyles(styles); }}Now you should be able to see a layer on top of the closed valves. Make sure to zoom in and enable the toggle in the plugin UI to enable the plugin visualizations.
Add components to the UI
Section titled “Add components to the UI”Start by adding some UI elements to the side panel. Let’s add a button to open a random valve.
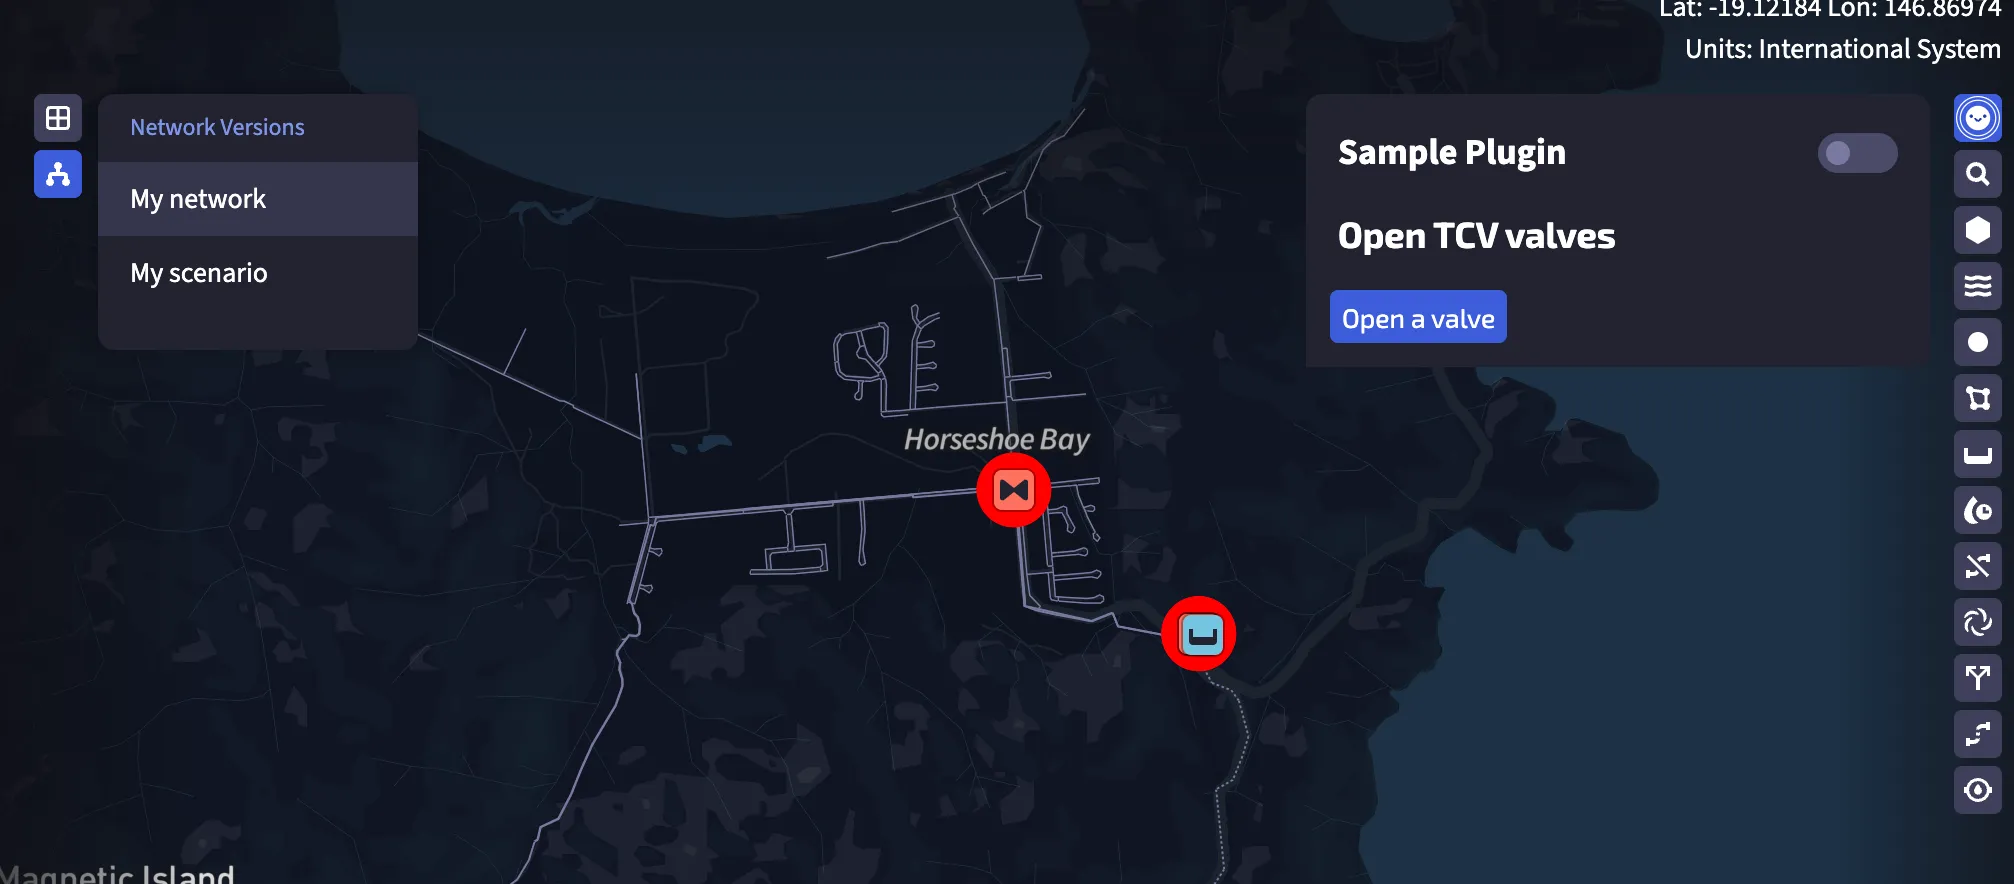
<!doctype html><html lang="en"><head> <link rel="stylesheet" href="/style.css"> <script type="module" src="/main.ts"></script></head><body> <h1>Open TCV valves</h1> <button id="open-valves">Open a valve</button></body></html>After reloading Qatium, the side panel will look like this
Connect the button with the plugin
Section titled “Connect the button with the plugin”Clicking the new Open a valve button we have created has no effect. To add functionality to it, we will send a message from the panel to the plugin instructing the plugin to open 1 valve.
To do so, send the message from the panel to the plugin.
import { sendMessage } from '@qatium/sdk/ui'
const changeMapButton = document.querySelector("#open-valves") as HTMLButtonElement;changeMapButton?.addEventListener("click", () => {  sendMessage({ command: "openValves", data: 1 })});
Then, the plugin will have to react to this message. To do this, use the onMessage event from the Events API.
// We need to pass the message type so typescript know what we're sending from the UItype Message = { command: string; data: number }
export class MyPlugin implements Plugin {  // ...previous code
  private openValves(quantity: number) {    return sdk.network      .getValves((valve) => valve.simulation?.status === "CLOSED")      .slice(0, quantity)      .forEach((valve) => {        sdk.network.setStatus(valve.id, "OPEN");      });  }
  onMessage(message: Message) {    switch (message.command) {      case "openValves":        return this.openValves(message.data)      default:        return;    }  }}
After reloading Qatium and clicking the button, we will see one closed valve is now open, and the map updated.
Communicate the plugin with the its panel
Section titled “Communicate the plugin with the its panel”In the previous points, we have seen how to communicate with the plugin when the panel initiates an action. But in many instances, our plugin will have to react to changes in the network model, map, etc.
To do so, subscribe to these changes using the Events API and send a message to the panel to reflect the changes.
Edit the run() method, which is called every time the app’s state changes, and send the number of closed valves to the panel.
run() {... sdk.ui.sendMessage(closedValves.length);}At the UI side, first add a placeholder in the HTML page.
<h1>Open TCV valves</h1><p id="valves">Loading...</p><button id="open-valves">Open a valve</button>Then subscribe to messages coming from the plugin, and update the placeholder with the number of closed valves.
import { onMessage } from '@qatium/sdk/ui'
onMessage<number>((msg) => {  const valveText = document.querySelector("#valves");  if (!valveText) return;
  valveText.innerHTML = `${msg}`;})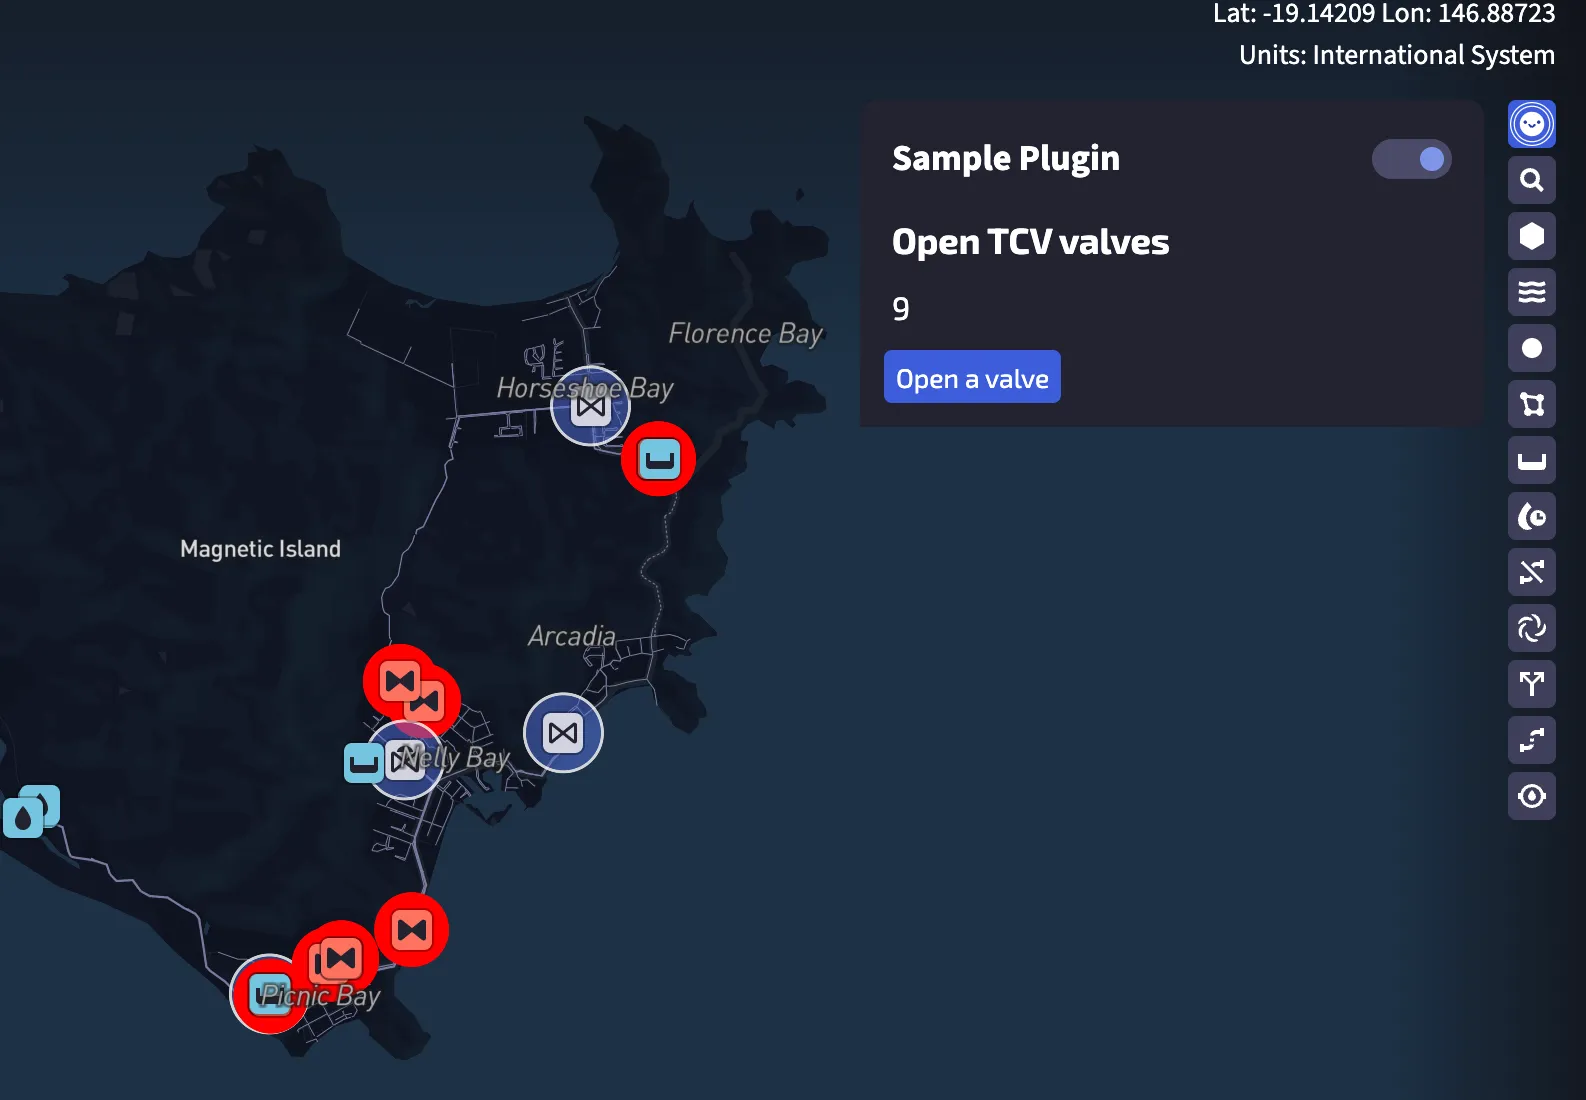
Congratulations, you built your first Qatium Plugin! 🎉